Message Logs
Purpose
Many companies are legally required to prove that their internal control and financial reporting systems are adequate. They are required to prove this to external auditors. In the United States, this legal requirement is stated in the Sarbanes-Oxley Act, and other countries have similar laws. The adequacy of financial systems can be proved by retaining messages. When a system processes a message by routing it through a chain of subsystems, then each subsystem must save a copy of the message it sends. These messages do not have to be stored forever; only retaining messages for a finite time period, for example 30 days, is required.
The Frank!Framework supports this kind of requirements through a message log. Frank developers can add a message log element (for example <JdbcMessageLog>) to a sender. As a result, all messages sent by the chosen sender are stored. They are removed when their configured retention period is over.
Tutorial
You as a site owner get the option to browse the stored messages. In this section you learn how to do this. Please do the following:
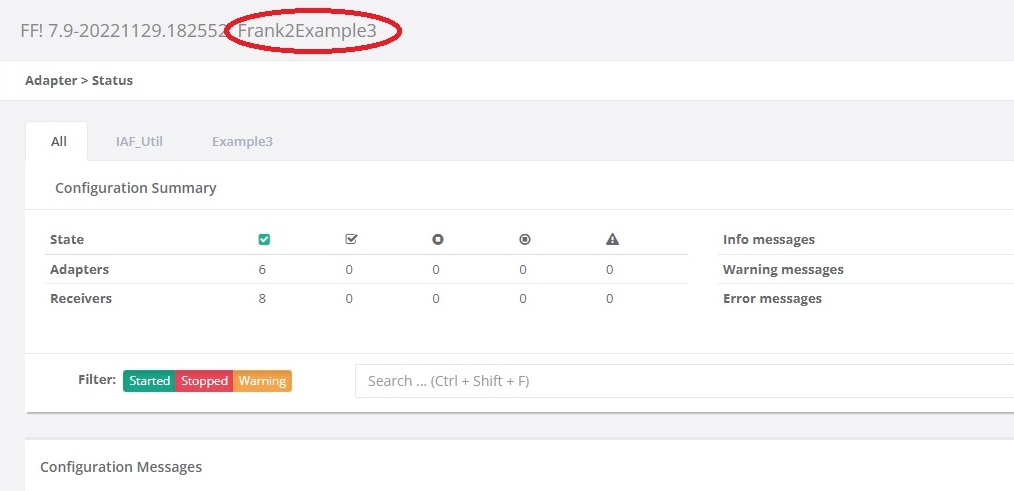
Start Frank2Example3 of the Frank!Runner.
Browse to http://localhost. You enter the Adapter Status page.
Please check that you are in Frank application “Frank2Example3”, as shown:
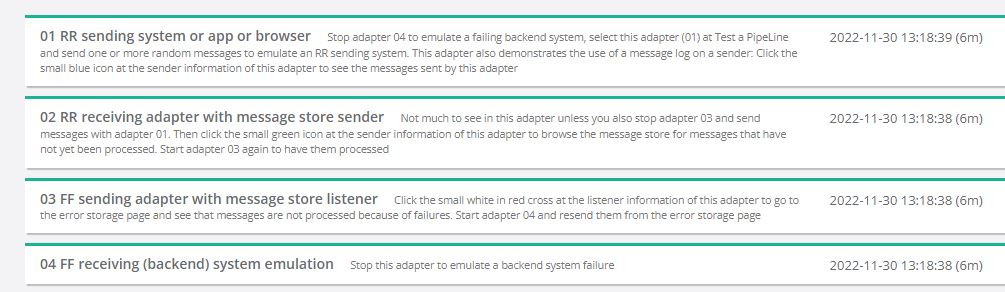
Minimize all adapters by clicking on expanded adapters. You should see the four adapters shown below:
Expand adapter 01 again, see below. You see a heading “Senders” and below it the sender named “Send”. Next to this, you see a blue icon.
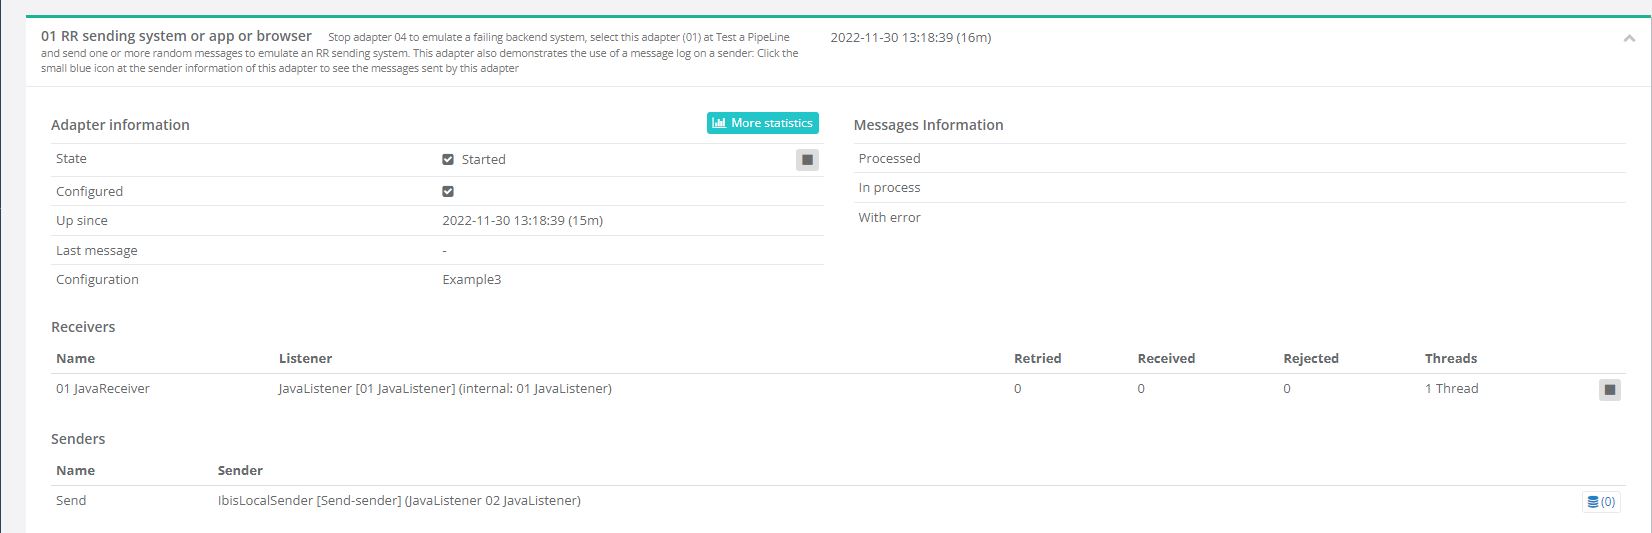
Next to the icon you see the number “0”, indicating that there are no stored messages. Please proceed as follows to see a stored message:
In the main menu, go to Testing | Test a Pipeline.
Choose adapter 01.
In the message field, enter
<message>Some message</message>.Press “Send”. You should see the output
<id>1</id>. You should also see a green bar to the top with the word “SUCCESS”.Go back to the adapter status page and expand adapter 01. Your screen should look again like the figure at step 5, but next to the blue icon you should see the number “1”.
Click the icon. The screen should look as shown below. There is a table with all stored messages (only one message in this case). The table has a column “Expires” in which the end date of the retention period is shown. For each message row, there are two buttons “View” and “Download”. The message has been stored with storage id “2” (highlighted). Note that this value differs from the
<id>value you saw in Test a Pipeline.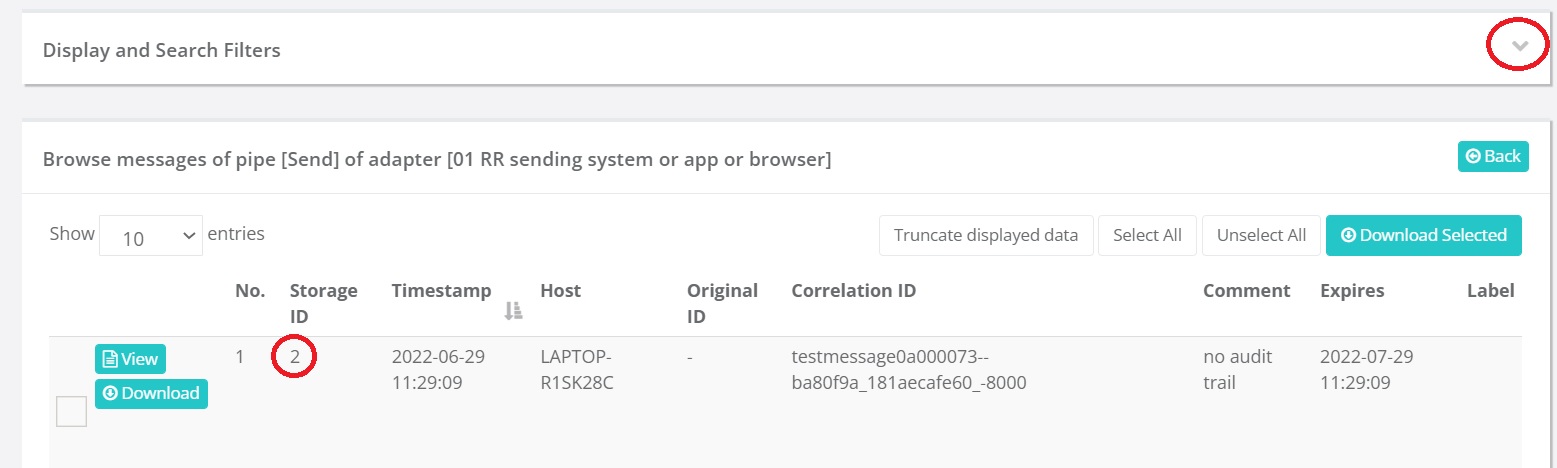
To the top, there is a line “Display and Search Filters” that can be expanded (see highlighted arrow). By expanding, you get options to hide/show columns and to filter messages. These options are very useful if there are many messages.
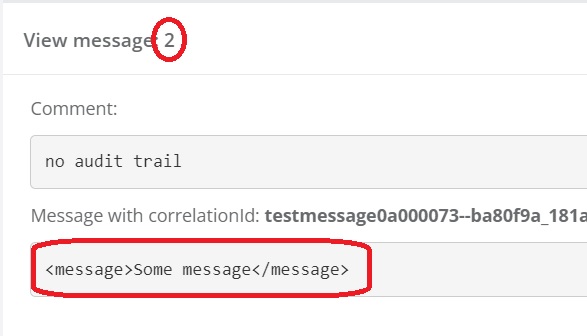
Please click the “View” button. The screen looks as shown below. You see the storage id used in the message log to the top (highlighted) and the original message (also highlighted). There is also a Download button (not shown).
Finally, remember that messages in a message log are automatically deleted when their retention period has ended. This retention period is configured by the Frank developer in the Frank configuration.
Note
If you are a Frank developer yourself, look in the Frank!Doc under “TransactionalStorages”. When you select that heading, you can for example select “JdbcTransactionalStorage”. This element has an attribute “retention”, the number of days that the retention period lasts.