Save and load captured test reports
The previous subsection Capture test reports explained how reports in Ladybug can be captured. Captured test reports can be run any time, allowing you to do regression tests. This section explains how to save test reports to your laptop and how to upload saved tests again.
Please do the following:
Ensure that the Frank!Framework is set up according to Preparations and that it is running. Go to Ladybug. Ensure that the report generator is enabled. See Windows or Linux.
Ensure that you have captured test reports in tab “Test”. If not, you can redo subsection Capture test reports.
Go to tab “Test”. Press “Download all” (number 2 of the picture below):

A save file dialog appears allowing you to save a zip file. Press OK.
Go to your Downloads folder and sort by creation date to see the downloaded file.
Stop the Frank!Framework. You will restore your captured reports soon.
Sometimes the Frank!Framework saves test reports automatically, but you can not rely on this. In this tutorial we make sure that all captured test reports are lost, such that we can properly demonstrate uploading. Go to the
testsdirectory within yourFrank2Manualdirectory. Within thetestsdirectory there should be a file namedPipeline sutGet.report.xml. Delete it.Restart the Frank!Framework.
Browse to http://localhost.
Click “Testing”:
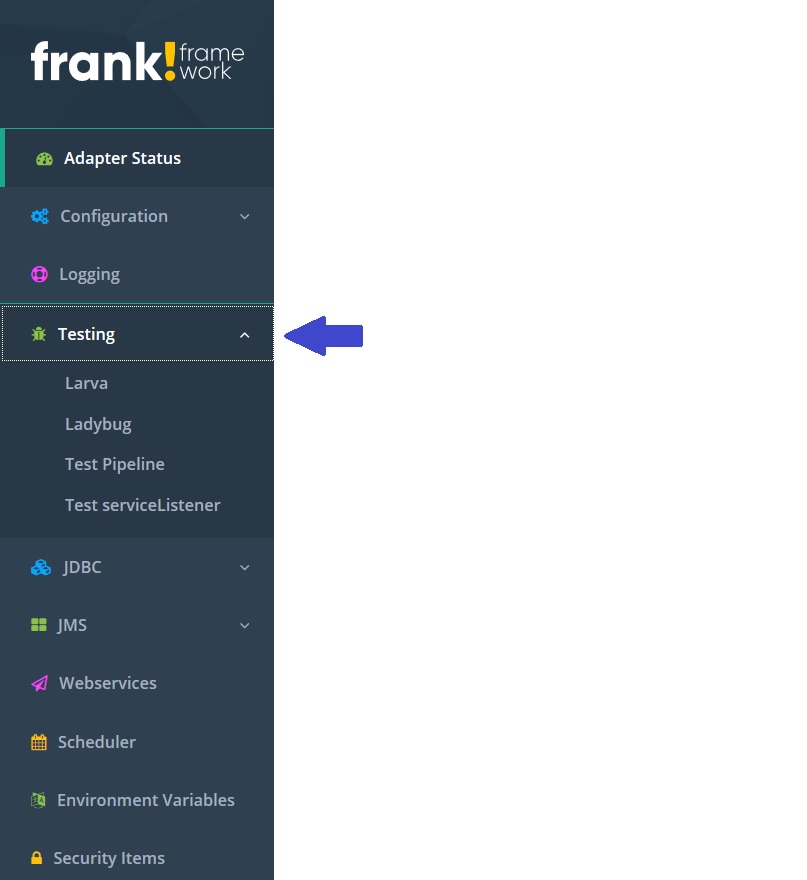
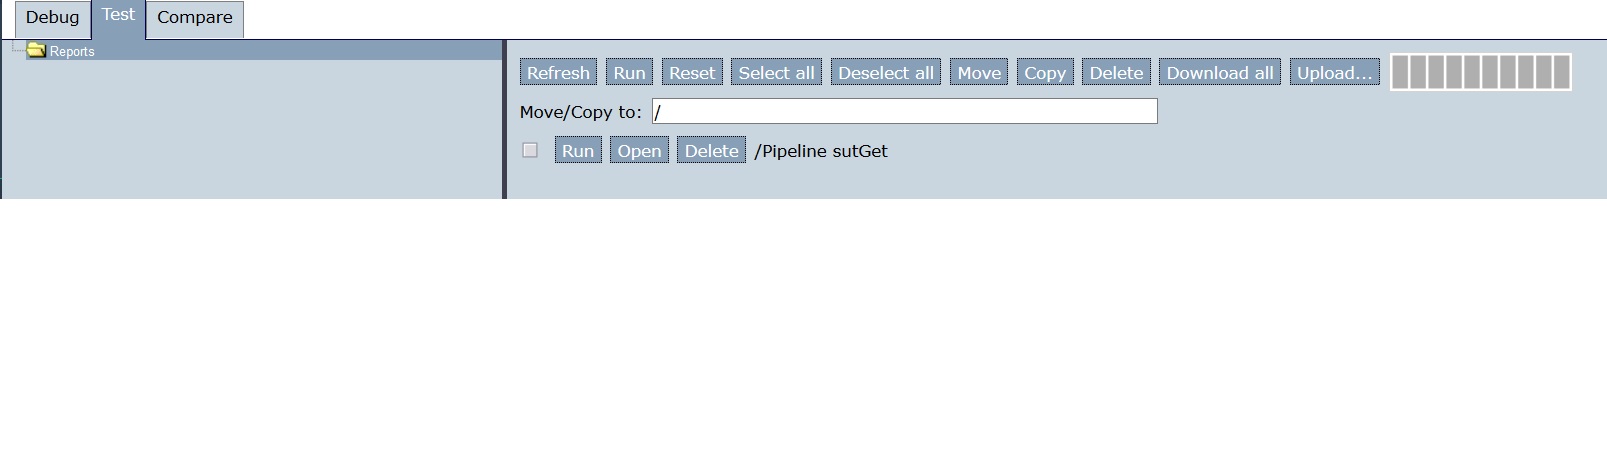
Click Ladybug and tab “Test”.
There are no tests, see picture:
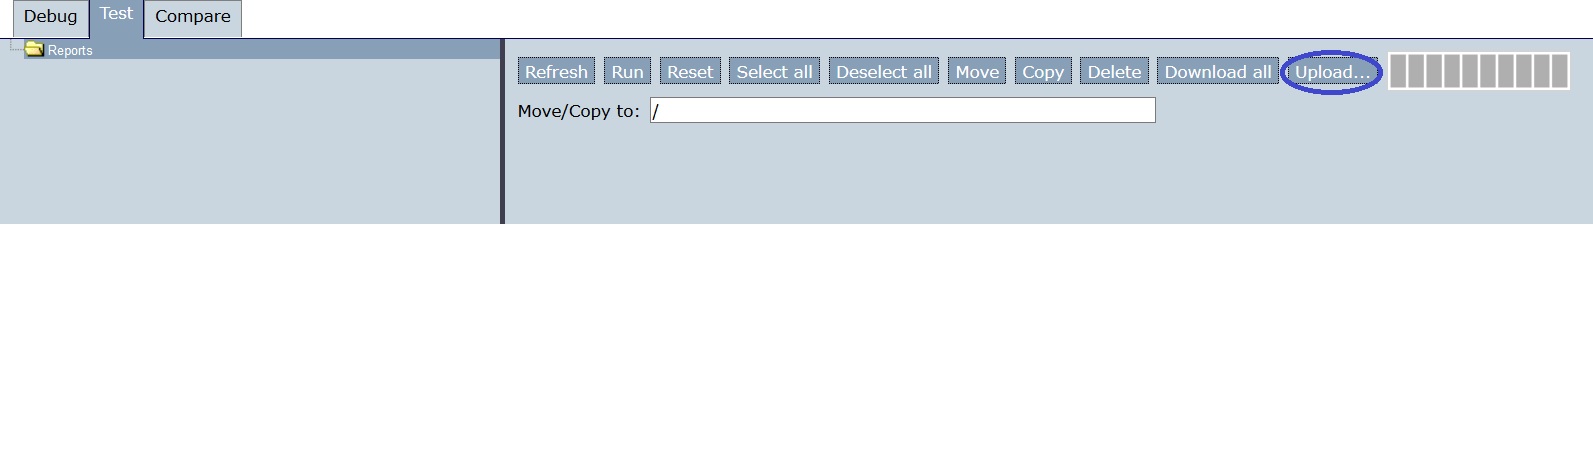
Press Upload.
A dialog appears. Select your saved zip file and upload.
Your saved test report should be back: