Linux
This sub-subsection explains how to do a HTTP call to the electronic archive introduced in Introduction outside the Frank!Framework. This subsection gives the instructions Linux users need to follow.
Please do the following:
Open the Frank!Framework by browsing to http://localhost.
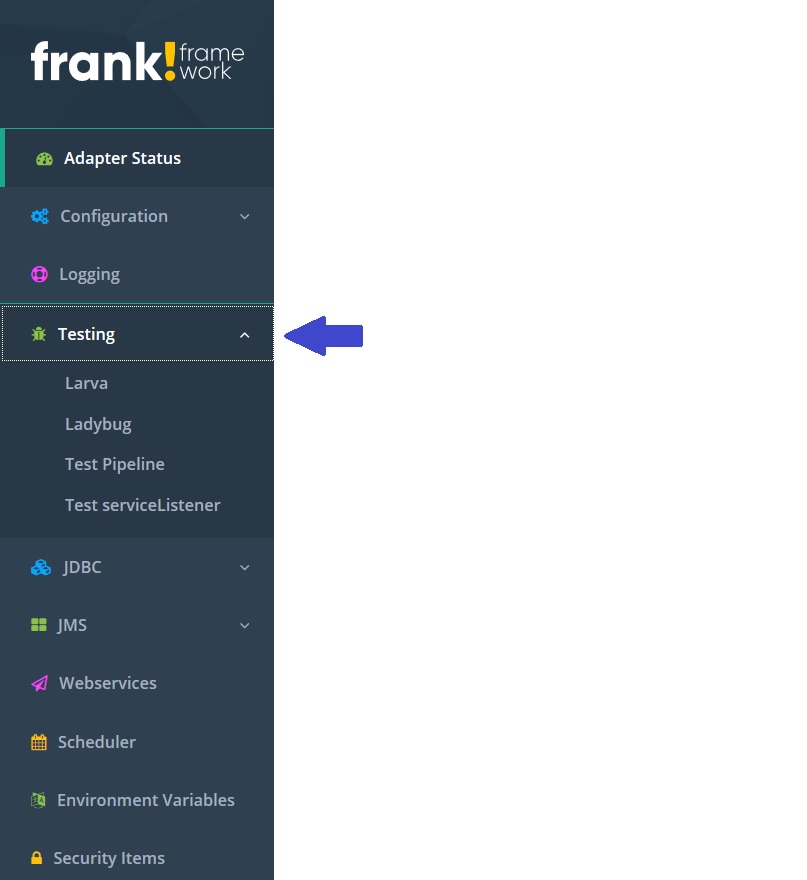
Open Ladybug by clicking “Testing” and then clicking “Ladybug”:
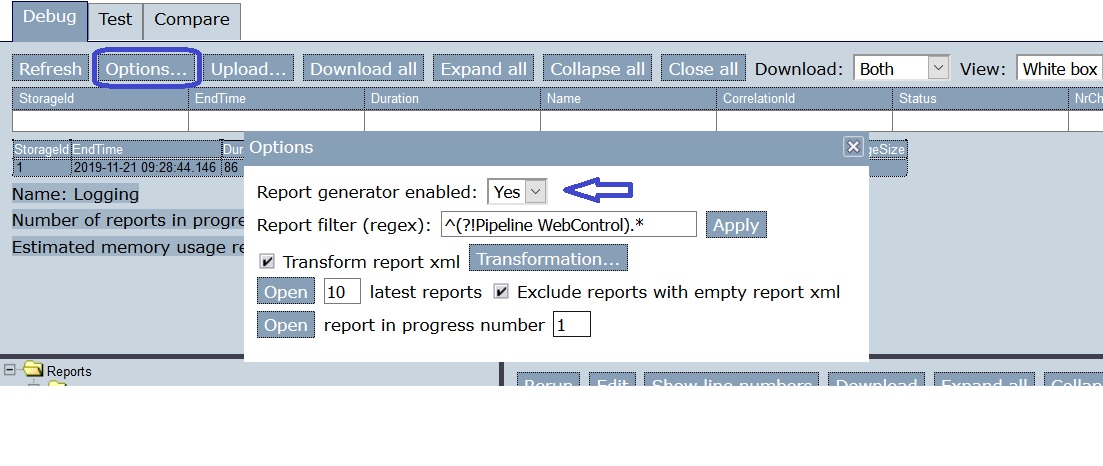
Enable the report generator as shown:
Open a command prompt.
Enter the following command:
curl -i -X POST -H "Content-Type: application/xml" -d '<document>This is the document</document>' localhost/api/archive
The result will be something like this:
HTTP/1.1 200 OK
Server: Apache-Coyote/1.1
Last-Modified: Thu, 21 Nov 2019 10:29:55 GMT
Cache-Control: no-store, no-cache, must-revalidate, max-age=0, post-check=0, pre-check=0
Pragma: no-cache
Allow: OPTIONS, POST
Content-Type: */*;charset=UTF-8
Content-Length: 26
Date: Thu, 21 Nov 2019 10:29:55 GMT

<docid>docid-12345</docid>
Switch back to Ladybug and press Refresh:

You see a table in which your HTTP call appears (number 1):
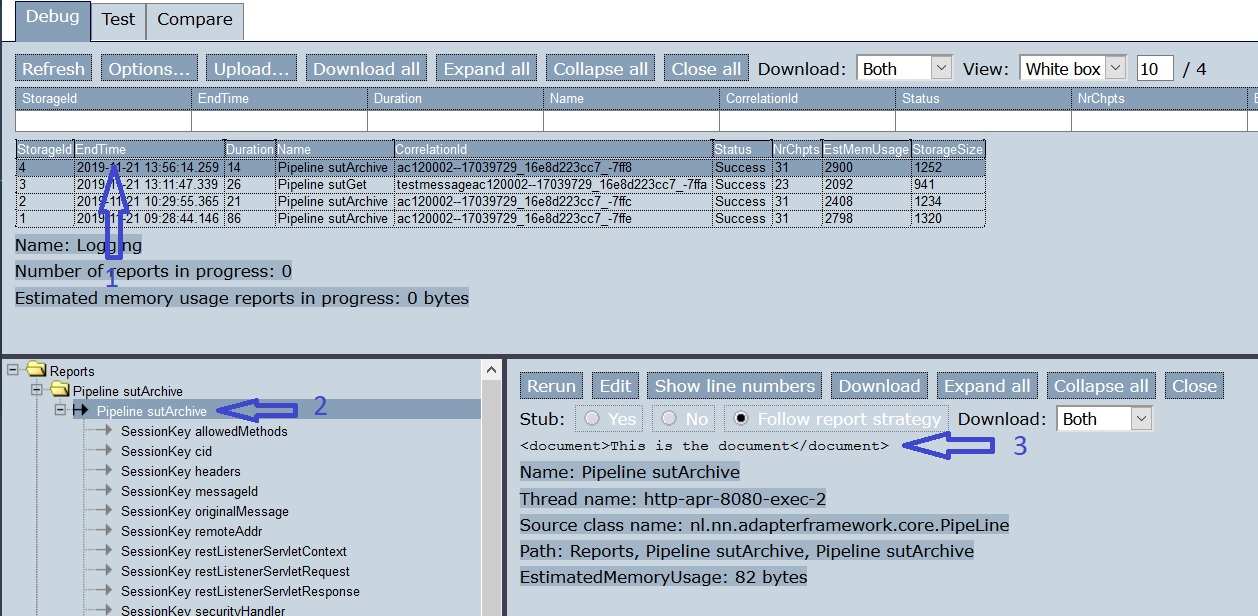
Click the line corresponding to your call to the electronic archive. You see a tree view of the execution of this Frank adapter (number 2). To the right, you see information about the selected node (number 3). In this case, it is the XML message you passed through the body of your HTTP request.
Note
In the tree view you see the abbreviation SUT. This stands for System Under Test.