Windows
This sub-subsection explains how to do a HTTP call to the electronic archive introduced in Introduction outside the Frank!Framework. This subsection gives the instructions Windows users need to follow.
Please do the following:
Open the Frank!Framework by browsing to http://localhost.
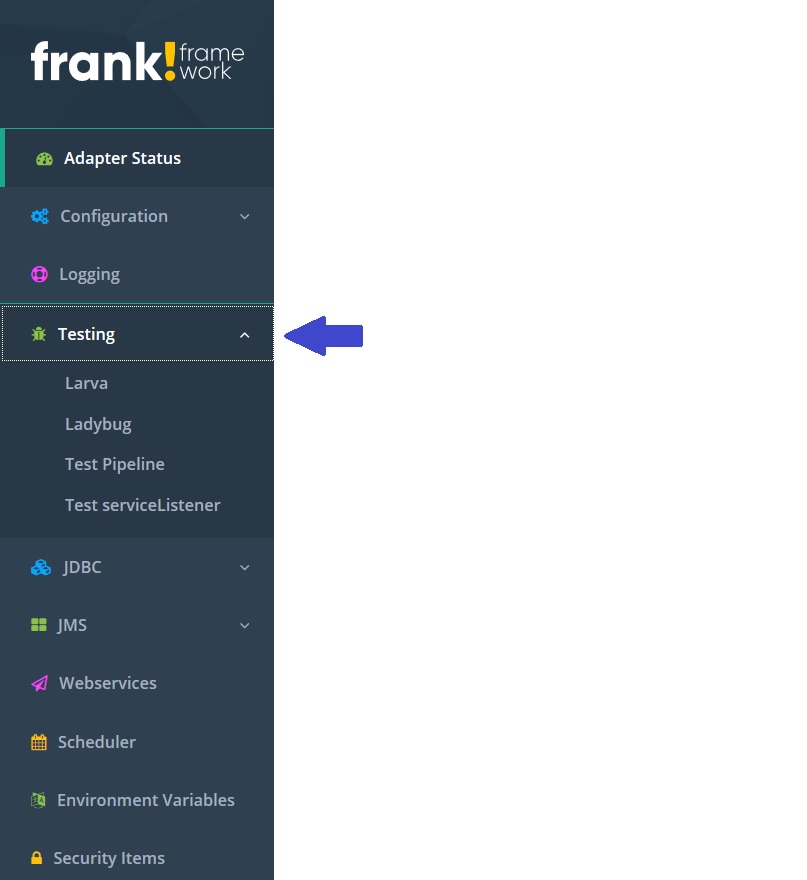
Open Ladybug by clicking “Testing” and then clicking “Ladybug”:
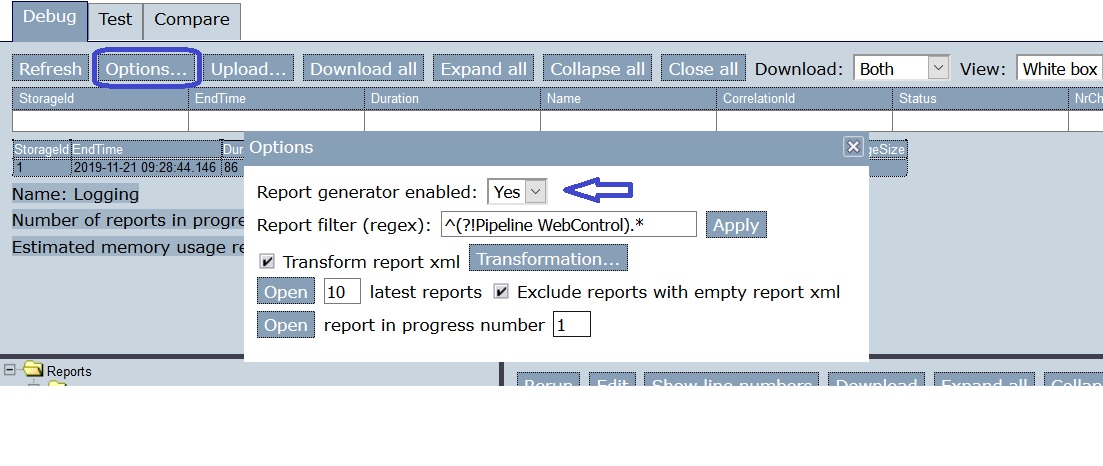
Enable the report generator as shown:
Start Postman. Ensure that “SSL certificate verification” is not checked, see Testing (Windows) in chapter “Getting Started” for instructions.
Start a new request as explained in Getting Started. Select method POST and type URL
localhost/api/archive.Go to tab “Headers”.
Add header
Content-Typewith valueapplication/xmland select it, as shown: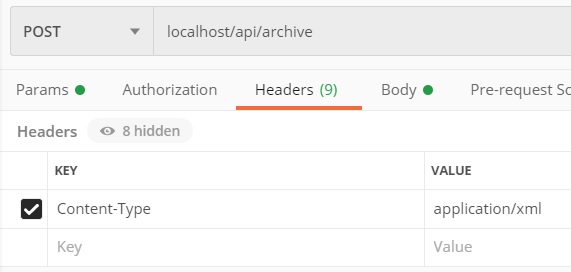
Go to tab “Body”.
Select type “raw” as explained in Getting Started, see link above. Then enter the following XML for the body:
<document>This is the document</document>
Press “Send”.
Under the body you entered, you should see the following response:
<docid>docid-12345</docid>
Switch back to Ladybug and press Refresh:

You see a table in which your HTTP call appears (number 1):
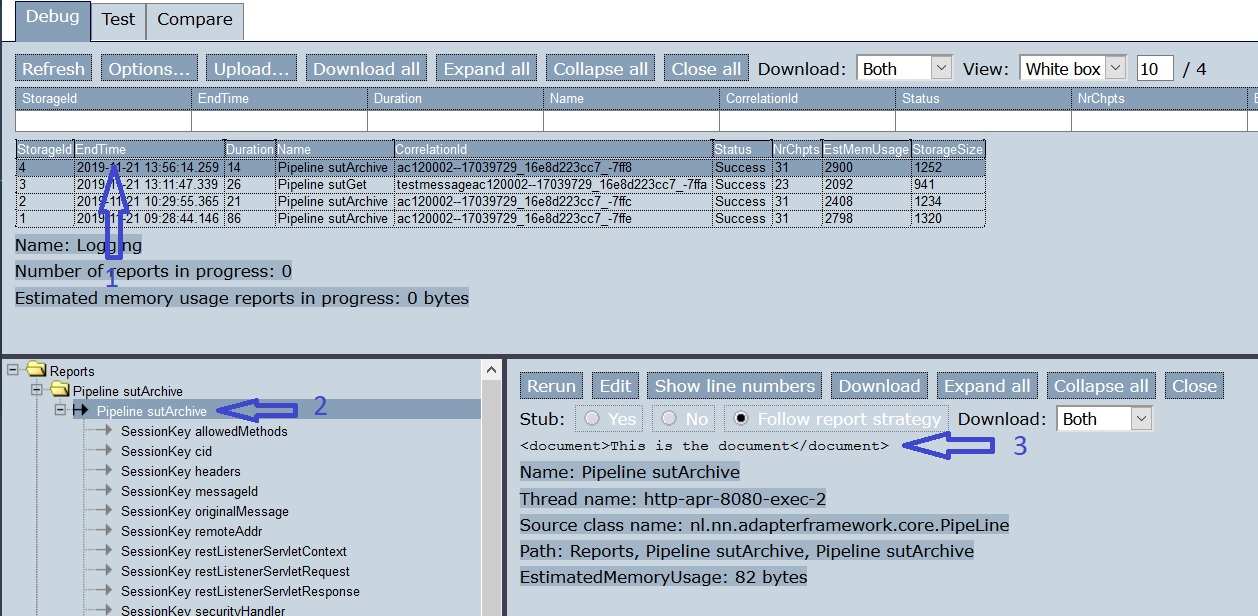
Click the line corresponding to your call to the electronic archive (number 1). You see a tree view of the execution of this Frank adapter (number 2). To the right, you see information about the selected node (number 3). In this case, it is the XML message you passed through the body of your HTTP request.
Note
In the tree view you see the abbreviation SUT. This stands for System Under Test.